Arduino UNO as USB to serial TTL converter
I recently had a problem. I had bought all these serial communication modules which uses AT commands for setups, but the USB to serial TTL converter I ordered from Ebay still hadn’t arrived. So I got all these cool bluetooth 4.0 and Wi-Fi modules I couldn’t use, or so I thought at first. In this tutorial I’ll show you how to use an Arduino as a bridge between your computer and Serial communication module(like Bluetooth, Wi-Fi etc) which will allow your computer to talk directly to the module.

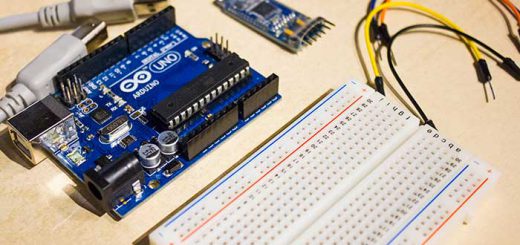
Hardware requirements
- An Arduino(I used an Arduino UNO, but most Arduinos should work for this)
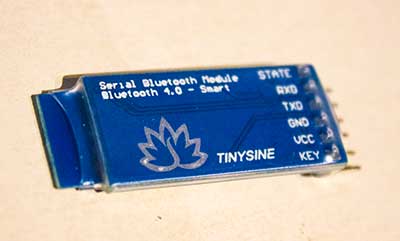
- The serial component you want to communicate with through USB.(I used a TinySine Serial Bluetooth Module 4.0 BLE w/ iBeacon support)
- A breadboard
- Some breadboard cables
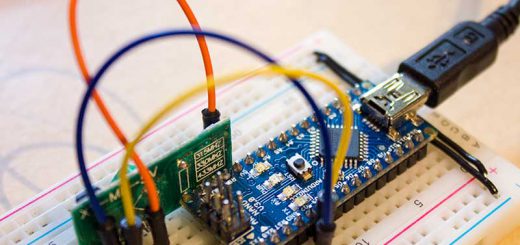
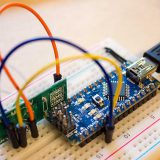
Connecting the Uno to the serial module
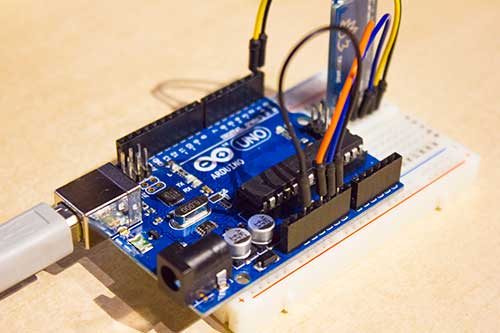
For this project I used a TinySine Serial Bluetooth Module 4.0 BLE w/ iBeacon support. Any other serial module with RX and TX pins should work for this project though. My bluetooth module works with voltages between 3-6 V. Because my Arduino Uno works with 5 V, I’ll be connecting the module’s VCC pin to the 5V port. Follow the table below for the proper connections.
[table caption=”Connections between the Uno and the serial module” width=”400″ align=”center”]
Arduino Uno pins,Bluetooth Serial Module
Digital pin 0(RX),RX
Digital pin 1(TX),TX
5V*,VCC
GND,GND
[/table]
*Make sure you know what voltage your module works at, some modules works on 3,3 V for instance. If it does work on 3,3 V, connect the module to the 3,3 V pin on the Arduino. Using the module with the wrong voltage could permanently damage your module!
Isolating the processor from the IO-pins
There is one more simple connection you need to make. Connect the RESET pin on the Arduino, to the GND pin on the Arduino. On some of the smaller Arduino’s, like Arduino Nano, the RESET pin is labeled RST. What this does is isolates the Atmega328p CPU from the IO-pins. Another solution is actually physically removing the Atmega328p processor from the socket on the Uno, but because a lot of Arduino models doesn’t have that capability, the isolation way is the best practice.
Doing basic serial read/write
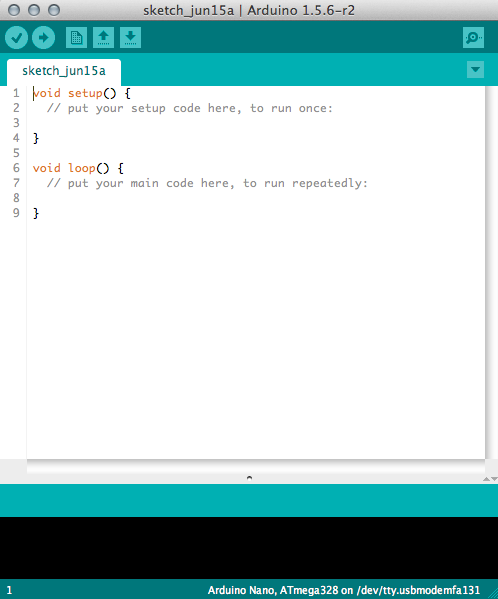
Now connect the USB-cable to your computer and open up the Arduino Software.
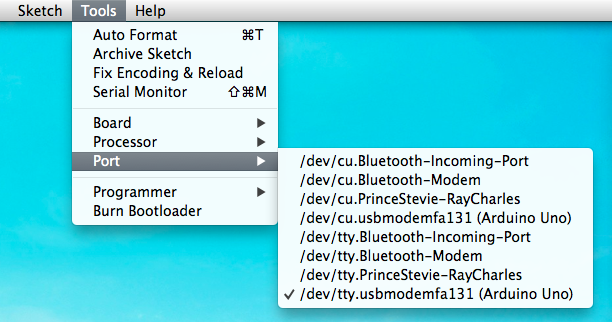
In the menu bar go to Tools –> Port and choose your Arduino in the list. Choose the one with the port starting with tty, not cu. In Mac and Linux the Arduino model should be identified in the menu list, but in Windows you need to open up Device Manager and find the COM-port to your Arduino.
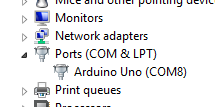
Windows: Device Manager – in this case the Arduino was on COM8
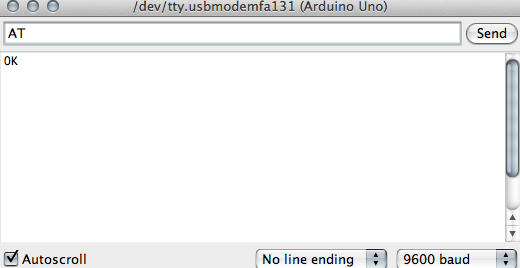
Now open up Serial Monitor by going in Tools –> Serial Monitor. In Serial Monitor you need to choose the right baud rate. What you should choose depends on your module. Check the datasheet or product specification of your component to check what baud rate it runs with. My bluetooth runs on 9600 bps, so I chose 9600 in Serial Monitor. To test if it now works, run an AT command to see if your module returns anything. My bluetooth module can receive an “AT” and responds thereafter with “OK”.
Whatever serial software you want to use should work with this setup too!
If you have any questions feel free to ask me by using the Contact page or by commenting below.