Decode 433 MHz signals w/ Arduino & 433 MHz Receiver
Today I’ll be showing you how to read 433 MHz codes. This tutorial was made to complement the Voice Controlling project which needed 433 MHz Unit Code Values to control the wireless switches. Since I’ll be getting my own apartment, a lot more 433 MHz RF home automation tutorials will probably soon come up! If you want to know how to read 433 MHz codes using a Raspberry Pi, go to this post!
Hardware Requirements
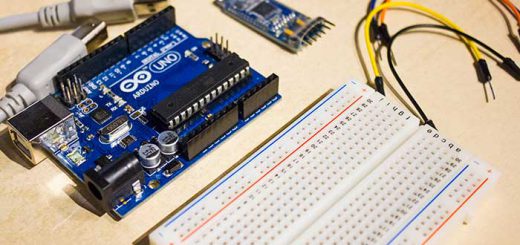
- Any Arduino(I used an Arduino Nano clone)
- 433 MHz receiver(Any type of 433 Mhz receiver should work, but for this tutorial I used a 4 pin variant)
- A breadboard
- Some jumper wires
- A 433 MHz transmitter(I used a 4 channel 433 MHz transmitter Remote)
Connecting the 433 MHz Receiver
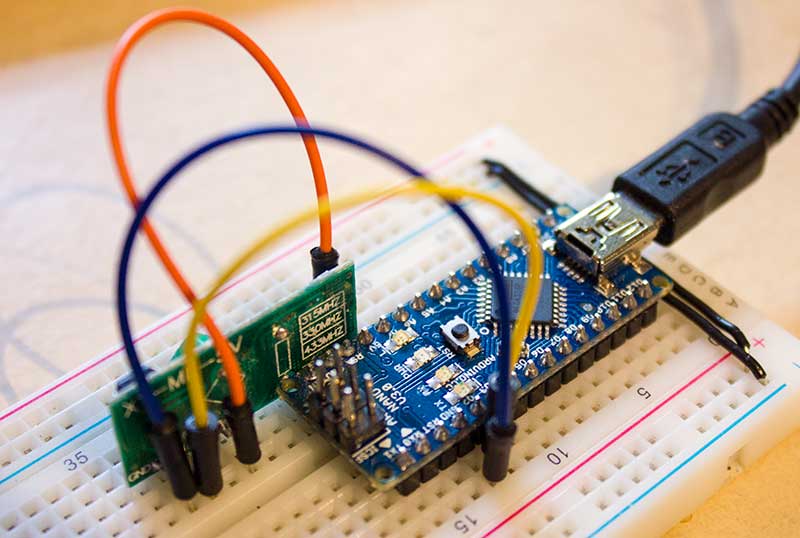
As you can see in the picture, my 433 MHz Receiver actually has two Data-pins. Why it has two pins I don’t exactly know, but a possibility is it is used to easily connect two output-sources, or two different Arduinos. In this project however we will only need to use one of the pins. I used the one closest to the GND-pin.
[table width=”200″ align=”center”]Arduino Pin, 433 MHz Receiver Pins
GND,GND
5V, VCC
Digital Pin 2 (D2),Data
[/table]
It’s important to know that if you are using an Arduino Leonardo, you should be connecting the Data pin to Digital Pin 3(not Digital Pin 2!).
Because we will be using “interrupt 0”, the Digital Pin you should connect is actually different between different Arduino models. If you are not using an Uno, Nano or Mega, Go to to this site to check out which Digital Pin you should use.
Most people will be using Digital Pin 2 in this project however.
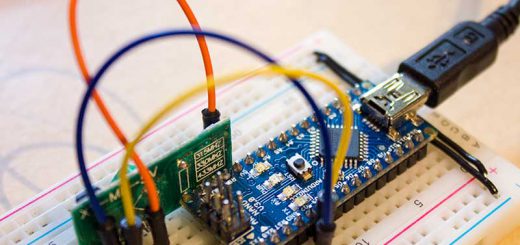
This is how it looks like connected to my Arduino Nano
Getting the RCSwitch Library installed
To make the 433 MHz receiver to work with your Arduino, you need to download a library called RCSwitch.
You can download RCSwitch directly from their official repo:
https://code.google.com/p/rc-switch/downloads/list
After you’ve downloaded it, you should have a zip-file. You need to extract it, and move the extracted folder to your Arduino libraries folder.
If you don’t know where the Arduino libraries folder is, open up the Arduino Software and go to File –> Preferences. If you are on a Mac, it’s Arduino –> Preferences.
Here you should see the Sketchbook location.
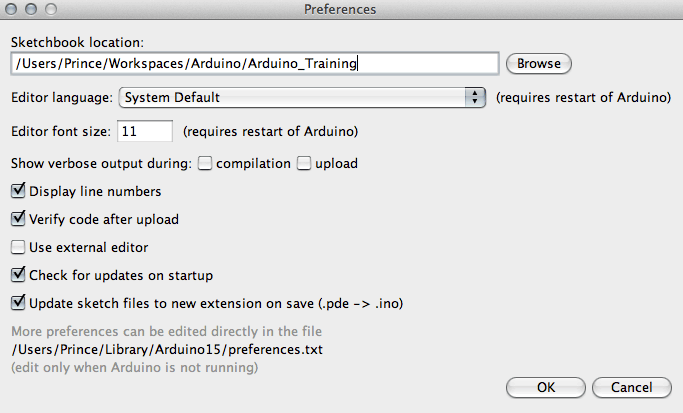 In my case my libraries folder is in /Users/Prince/Workspaces/Arduino/Arduino_Training.
Now to clarify, I should move the extracted RCSwitch folder to:
/Users/Prince/Workspaces/Arduino/Arduino_Training/libraries
To finish up the library installation, exit and reopen the Arduino Software, and now you’ve successfully installed the library!
Uploading the code
The code we will be using to read the 433 MHz RF codes is actually located in the library as example code. To open up the code in the Arduino Software, press the “Open”-button, then press: libraries –> RCSwitch –> ReceiveDemo_Simple
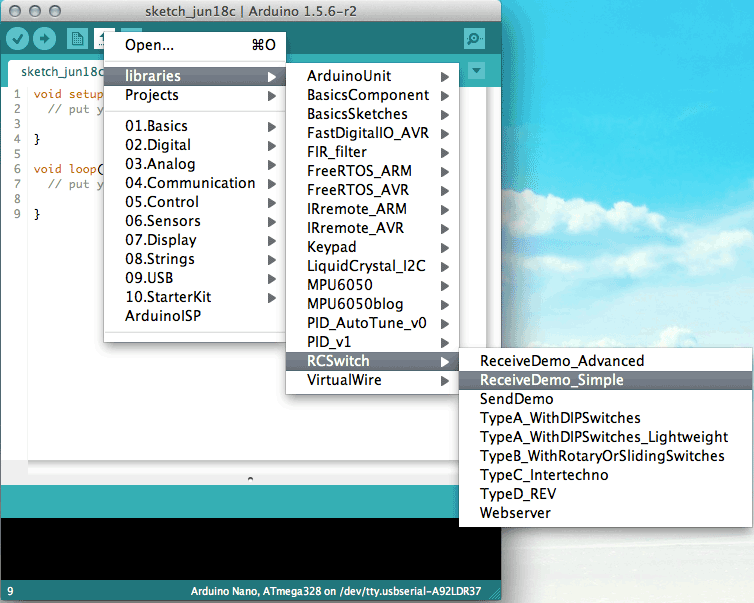 Now the code should appear in the textfield. Now connect your Arduino to your computer and upload the code!
Reading 433 MHz Codes
I used a simple 4 channel 433 MHz Remote to send some example codes to my receiver.
Open up Serial Monitor, and set the right bottom list to “9600 baud”. When you then press the buttons on your 433 MHz transmitter remote, the received 433 MHz RF codes should then be printed!
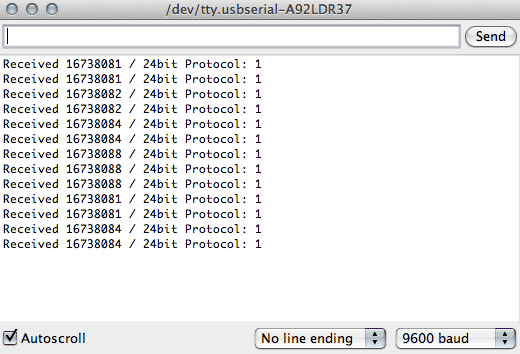 Now in my case you see values ranging around 16738081- 16738088.
So this is how you read 433 MHz codes using an Arduino & 433 MHz receiver!
If you have any questions feel free to ask me by using the Contact page or by commenting below.


