Basic LED blinking w/ Arduino

Hi and welcome to the first official post of PrinceTronics.com!
First off to test if your Arduino is working with a classic LED blinking test.
Before we go into the project, some things need to be explained so you won’t be confused by the images you will see later.
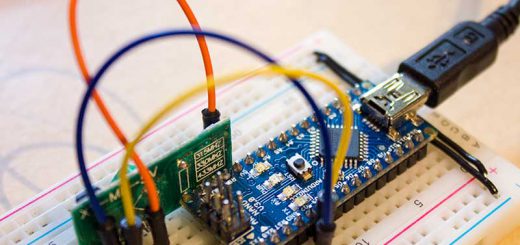
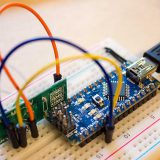
I mounted my Arduino and breadboard to the cap of a food box. This way I easily keep together my projects and easily store and carry it around. Also I currently have a button mounted on the corner of the breadboard to further simplify tests I perform during my projects. All this isn’t necessary for this project but simplifies my workspace and further increases my productivity for future projects. The red and blue intertwined cables are connected to the 5V- and ground-pins on the Arduino and the breadboard. The long black cable its the cable for the output of the cornered button. Under the Arduino is an old card which is glued to the food box cap. This way I can easily remove the Arduino if I have to.

So now lets start our first project!
Requirements
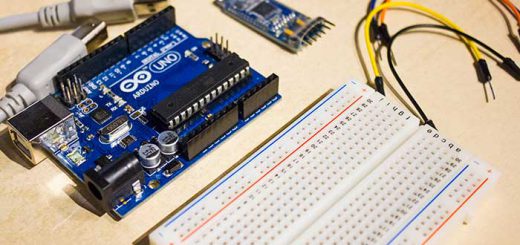
- Arduino (Duh)
- Two breadboard jumper wires male to male
- 330 Ω resistor
- LED
Connecting the hardware
The LED has a long pin and a shorter pin, the longer pin is the anode which should always be connected to the voltage output of the Arduino or any component., in this case it should be connected to the resistor. The shorter pin the cathode and is connected to the GND-pin on the Arduino, which is the pin for ground. The resistor’s other end is connected to the Arduino pin 13. Thank god this is illustrated in the image below.

Programming the Arduino
Next step is to use the Arduino app. I’m not going to go through the installation process. There are tons of tutorials online if you need help installing apps on Windows, Mac and Linux.
Now open up Arduino app and paste the code below. This is taken from one of Arduino’s example sketches names “Blink”.
/*
  Blink
  Turns on an LED on for one second, then off for one second, repeatedly.

  This example code is in the public domain.
 */

// Pin 13 has an LED connected on most Arduino boards.
// give it a name:
int led = 13;

// the setup routine runs once when you press reset:
void setup() {
  // initialize the digital pin as an output.
  pinMode(led, OUTPUT);
}

// the loop routine runs over and over again forever:
void loop() {
  digitalWrite(led, HIGH);   // turn the LED on (HIGH is the voltage level)
  delay(1000);               // wait for a second
  digitalWrite(led, LOW);    // turn the LED off by making the voltage LOW
  delay(1000);               // wait for a second
}
You can access this and other Arduino Sketches directly from the Arduino program
“Up arrow button” –> 01.Basics –> Blink
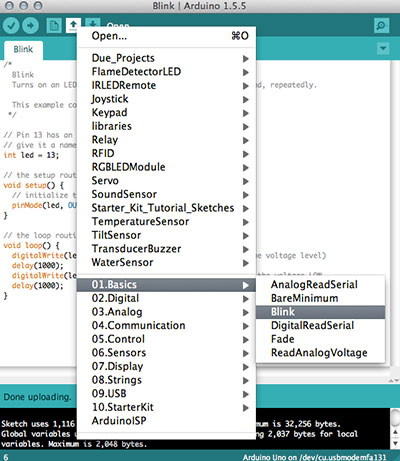 Or you can just go File –> Examples –> 01.Basics –> Blink
To upload the code to the Arduino, connect the Arduino to your computer with the USB-cable and press the “Right arrow button”, or just go “File –> Upload”.
After a few seconds your LED should be blinking!

If you have any questions feel free to ask me by using the Contact page or by commenting below.