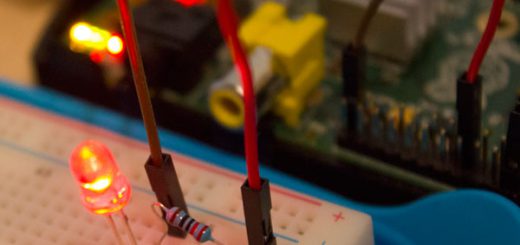
iBeacon minimal setup w/ Raspberry Pi(PiBeacon)
![]()
iBeacon has an enormous list of practical uses, from home to business uses. Some uses of iBeacon could for instance be pinpoint location services, for home automation uses or in-store navigation for different departments, and this is due to basic distance calculation using bluetooth signal strength and its ability to work indoors, compared to GPS. More practical uses exists due to the low power technology, which enables for instance a small iBeacon device to operate for a year or more with a single watch battery like CRC-2032. The range of iBeacon devices practically depends on the environment but is said to work up to 50 meters, which in theory should be cheaper and more efficient for larger and crowded stores or malls to implement than NFC-technology. It can also be used to easily pay in over the counter situations using PayPal without any effort. iBeacon fills the empty void between GPS- and NFS technology, and is more beneficial in certain situations.
The best of all iBeacon can be used on both Apple iOS devices, Macbooks and latest Android devices.
iBeacon-compatible devices
You will need one of these devices to be able to complete this project. I will show how to perform this project with an iPhone(I used an iPhone 5), but also shortly how to do the same on an Android phone.
- iOS devices with Bluetooth 4.0 (iPhone 4S and later, iPad 3 and later, iPod touch 5, iPad mini and later)
- Android devices with Bluetooth 4.0 and Android 4.3 and later (Samsung Galaxy S3/S4/S4 Mini, Samsung Galaxy Note II/III, HTC One, Nexus 7 2013 edition, Nexus 4, Nexus 5, HTC Butterfly, Droid DNA)
- Macintosh computers with OS X 10.9 (Mavericks) and Bluetooth 4.0 using the MacBeacon application from Radius Networks.
For more information about iBeacon, visit this Wikipage.
Before we start
In this project we will setup iBeacon with a Raspberry Pi. We will then test if its working with the use of an iPhone or Android cellphone.
There are a few other guide for this, but they are mostly outdated or not working according to what is promised, so I’ve used them only as guidelines for making it work on my end and with the latest software updates(february 2014), then made a guide of it.
Here are some guides that are well made but outdated and no longer working:
- http://learn.adafruit.com/pibeacon-ibeacon-with-a-raspberry-pi/setting-up-the-pi
- http://developer.radiusnetworks.com/2013/10/09/how-to-make-an-ibeacon-out-of-a-raspberry-pi.html
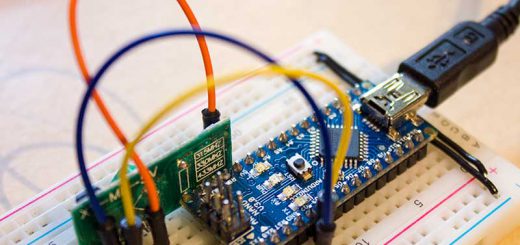
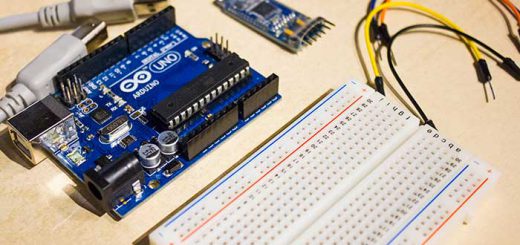
Hardware requirements
- Raspberry Pi with a working internet connection
- Bluetooth 4.0 USB Dongle with LE support
Installing the required software
Install the required libraries
sudo apt-get install libusb-dev libdbus-1-dev libglib2.0-dev libudev-dev
sudo apt-get install libical-dev libreadline-dev libical-dev libreadline-dev
Install Bluez
cd ~/
sudo wget https://www.kernel.org/pub/linux/bluetooth/bluez-5.23.tar.gz
sudo tar xzf bluez-5.23.tar.gz
cd ~/bluez-5.23
sudo ./configure --disable-systemd
sudo make
sudo make install
When its finally all installed, do a reboot
sudo reboot
Starting up the bluetooth service
Now connect your bluetooth 4.0 LE USB dongle if you haven’t already and run this code to check if the Pi notices your bluetooth dongle.
sudo ~/bluez-5.23/tools/hciconfig
You should see something like this:

Notice that it prints out “DOWN” on your Bluetooth dongle, this indicates that the dongle is offline. To enable the device and ready it for iBeacon service, run these commands:
sudo ~/bluez-5.23/tools/hciconfig hci0 up
sudo ~/bluez-5.23/tools/hciconfig hci0 noscan
sudo ~/bluez-5.23/tools/hcitool -i hci0 cmd 0x08 0x0006 A0 00 A0 00 03 00 00 00 00 00 00 00 00 07 00
sudo ~/bluez-5.23/tools/hcitool -i hci0 cmd 0x08 0x000a 01
Now if you run the hciconfig tool again it should say “UP”

Adding iBeacon Advertising Data
Now to add the iBeacon Advertising Data.
sudo ~/bluez-5.23/tools/hcitool -i hci0 cmd 0x08 0x0008 1E 02 01 1A 1A FF 4C 00 02 15 E2 C5 6D B5 DF FB 48 D2 B0 60 D0 F5 A7 10 96 E0 00 00 00 00 C8 00
This line of code sets the UUID Minor, Major and Power of the iBeacon Advertising Data. These values are what the desired iBeacon phone app is looking for in an iBeacon location. What UUID values we set in the previous command was:
UUID: E2C56DB5-DFFB-48D2-B060-D0F5A71096E0
Major: 0
Minor: 0
Power: C8
In the previous line of code the Manufacturer Specific Data was also set, and is identified by FF then 4C 00 which is the Apple company ID(0x004C). This value should always be set to this value even though an Android phone is being used, for iBeacon to function.
So this is how the values should be formatted when used with the command(marked with bold text):
hcitool -i hci0 cmd 0x08 0x0008 1E 02 01 1A 1A FF 4C 00 02 15 [UUID] [Major] [Minor] [Power]
Running the iBeacon app
Finally now lets see if iBeacon really works.
If you’re on iPhone, download Locate for iBeacon, if you’re on Android download iBeacon Locate.
Press “Locate iBeacons” and you should now see your iBeacon in the list.
“Locate for iBeacon” app
It might say “Distance: Unknown” for you. If it does, just press your iBeacon device and choose Calibrate and follow the instructions to fix that.
When you move away from your iBeacon and back, notifications should appear saying you’ve left and entered the iBeacon area.
Now this guide was a minimal setup for PiBeacon, and doesn’t really fulfill for any practical functions. In the future I might make more guides on how to do more advanced iBeacon setups.
Stopping the iBeacon service
To stop the iBeacon service run this command:
sudo ~/bluez-5.23/tools/hciconfig hci0 noleadv
If you have any questions feel free to ask me by using the Contact page or by commenting below.